
A ceiling fan can be a wonderful addition to any home. The breeze created by a ceiling fan can help keep you cool on hot summer days. You can even reverse the direction of the fan blades in the winter to keep warm air from hanging out in the top half of the room, where you can’t feel it. You don’t even need an electrician to install a ceiling fan. Here’s how to put one in on your own.
How to Put in a Ceiling Fan
From start to finish you just need to follow these 6 steps and soon you will be feeling the cool breeze from your ceiling fan
1. Cut the Power
A ceiling fan replacement is a wiring job, and before you can do a wiring job in your home, you have to cut power to the part of the wiring you’ll be working on. Each room of your house should be on its own circuit. Some of your large appliances may be on their own circuits, too. Go to your breaker box and read the labels on the switches to determine which circuit you need to turn off – it should be the one you plan to work on, so if you’re hanging a ceiling fan in the bedroom, for example, turn off the circuit labeled “bedroom.”
If your breaker switches aren’t labeled, though, you have a problem. You need to figure out which breaker switch controls which circuit. You can do that by making a map of your circuit breakers. Once you have turned off your circuit breakers, make sure the power is off in the room where you’ll be working by testing a light switch or using a voltage tester.
2. Disconnect the Old Fixture
If you’re replacing an old ceiling fan or a light fixture, you already have the wiring in place to connect a new ceiling fan. You can buy a ceiling fan with lights to replace a light fixture, so you don’t need to lose your ambient illumination. As you shop for ceiling fans with lights, you’ll find that you have plenty of options.
To disconnect an old light fixture, you’ll need to remove the screws that hold it to the ceiling. Take off the glass shade and remove the light bulb. You should see a screw or screws in the base of the light fixture, which you can remove. Pull down on the fixture gently to find the wiring connections. Take off the wire nuts and unwrap the ends of the wires from around each other.
Taking down an old ceiling fan is similar, but you’ll have to remove it in pieces (unless you want to manhandle an entire, 50-pound-plus ceiling fan). Take the blades off first. You can also remove the light fixture from the ceiling fan if it’s a large one. Then you can undo the screws holding the canopy in place. Pull the canopy down and remove the top of the downrod from the ceiling mounting plate. Pull the wiring out of the electrical junction box and undo the connections.
Also Read: Refinish Dining Table
3. Prepare a Fan Brace
Now, if you’re taking down an old ceiling fan in order to put up a new one, you might not need to install a fan brace or a fan-rated electrical junction box in your ceiling. You likely already have those, but you should check inside your ceiling to make sure.
If you’re replacing an old light fixture, you’re going to need to swap out the light-rated electrical junction box for a fan-rated one. Choose a fan-rated pancake electrical box that can hold at least 50 pounds, but preferably more. If you have a joist in the right position, directly above your ceiling hole, you can anchor the electrical box into the joist. If not, you need to insert a fan brace into the ceiling.
Fan braces come in the form of expanding metal brackets that you can stick up through the hole in the ceiling. They have spikes on either end that dig into the ceiling joists when the brace is expanded, anchoring it in position. The brace will support the weight of a ceiling fan, which is considerably heavier than most light fixtures.
4. Connect the New Fan Motor
With a fan brace and fan-rated electrical box in place, you can connect your fan motor. The motor may require some assembly; check the assembly and installation instructions that came with your fan. Usually, the assembly involves attaching a downrod to the top of the fan motor with pins, and threading the wiring from the fan motor up through the top of the downrod. You will also need to secure your fan’s ceiling mounting plate to the electrical box.
Pull the wiring from your ceiling down into the electrical junction box. You should have three wires coming out of your ceiling: a green or bare, a black, and a white. The green or bare wire is the ground wire – if it’s insulated, make sure you strip enough of the insulation off that you can wrap the bare end of the ground wire around the green ground screw inside the electrical box, leaving enough to connect the ground wire in your ceiling to the ground wire in your fan.
Connect the black wire in your ceiling to the black wire sticking out of your fan motor. And the white wire in your ceiling to the white wire in your fan motor. Connect the wiring by twisting the bare ends of the wires together and fastening them with a wire nut. Once you have connected the wiring, push the wiring back up into the electrical box, and secure the downrod to the ceiling mounting plate. Then you can pull the canopy up to hide the mounting plate and wiring and screw it into position.
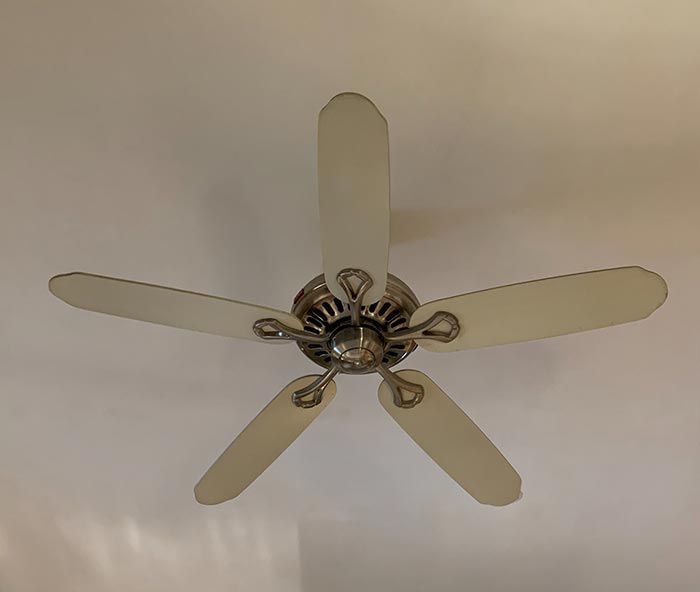
5. Attach the Blades
Once the fan motor is installed, you can add the fan blades. Most fan blades are going to come with blade irons that you should attach to the inner end of the fan blades. You can then attach each blade iron to the fan motor housing. Make sure your fan blades are all the same distance from the floor. Ideally, seven to nine feet from the floor.
6. Connect the Light Fixture
Now it’s time for the final step – connecting the light fixture to the fan motor housing. Some fan light fixtures just plug into the fan. While others have wiring that needs to be connected to wiring coming out of the fan motor. It should be connected the same way your fan’s motor wiring was connected. White to white, black to black, and green or bare to green or bare. Connect the wiring and fasten the light fixture to the fan motor housing with the screws provided. Put the light shades on and add light bulbs.
Conclusion
Now you’re done – you can restore the power to your fan and give it a try.


